
ULANZI UW-MIC 2.4GHz WIRELESS RECORDING MICROPHONE (2 In 1) REVIEW
From the moment you open the box you feel like you’re in for a treat. The charging case, which cradles the microphones and receiver sits in a black foam insert, above a small box which contains a USB-C charging cable, some headphones, and two dead cats (not real dead cats, it’s ok, do not worry) or windsocks.

I was very excited to use the Ulanzi UW-MIC 2.4GHz Wireless Recording Microphone which is built to work seamlessly with the iPhone (and accompanied with an MFi Apple official certification). I use the J12 wireless microphone several times a week, every week, and I love it, so my anticipation for this product was high.
THE CASE
The Ulanzi UW-MIC 2.4GHz Wireless Recording Microphone consists of two microphones and one receiver, which are magnetically held in place in the charging case. This case is gently spring loaded to secure the product. The size of the case is 73mm x 97mm x 31mm, and will easily fit in your pocket or camera bag, whilst not being impossible to find when you need to grab it.

There is a small LED on the front of the charging case to indicate how much charge remains in the unit. Once you open the case:
· If the LED is green for 10 seconds the unit has between 75% - 100% charge remaining.
· If the light is blue (for 10 seconds), the unit has between 36%-74% charge available.
· If the light is flashing red the unit has between 13% - 35% charge remaining.
· If the red LED flashes 5 times the unit has below 13% charge left.
Once you open the case, the microphones will flash their LEDs green to indicate they are charging. The receiver doesn’t require charging as it is powered by your phone once plugged in.

THE RECEIVER
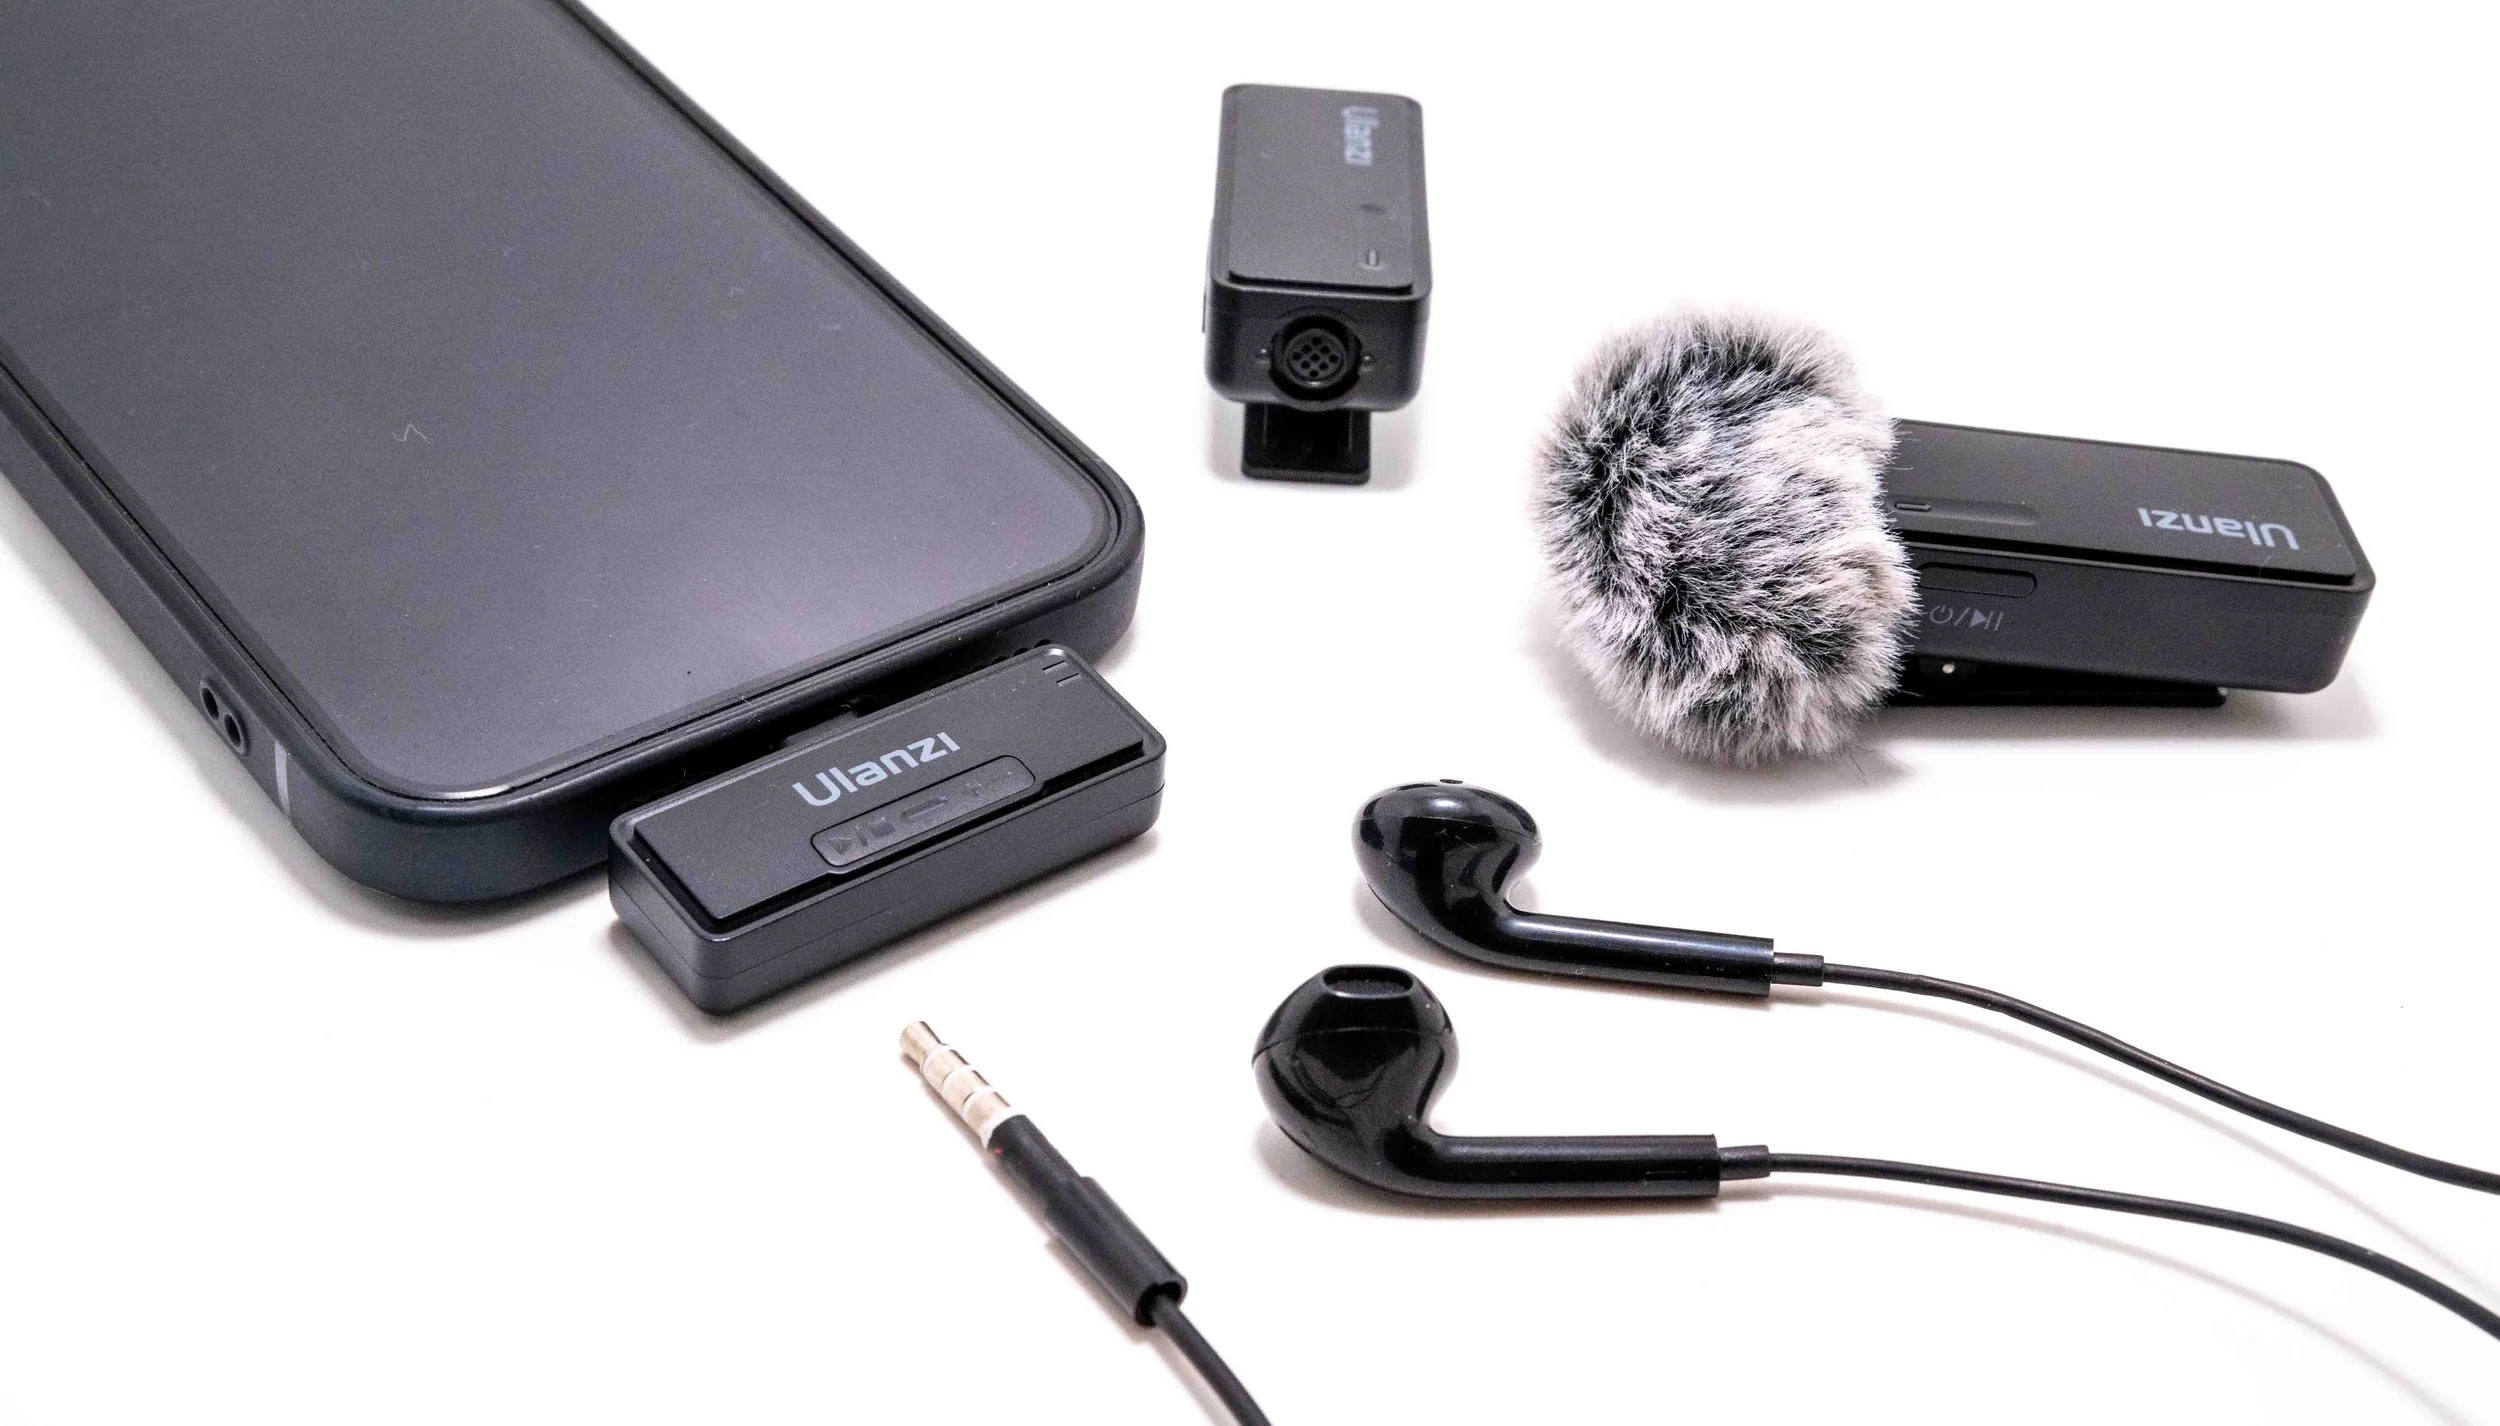
Inside the Ulanzi UW-MIC 2.4GHz Wireless Recording Microphone case on the right-hand side you will find the receiver, which when plugged into the lightning port of your iPhone (the android plug works in the same manner), illuminates a green LED, and is ready to go. You can purchase a Type-C receiver, instead of a lightning port, if you have an Android phone.
You can voice record or video record using both the mics at the same time, but make sure you unplug the receiver when listening back to your recording, otherwise it will remain muted.

There is a headphone jack on the side of the receiver, so you can use the headphones provided, to listen to the audio as it is recorded. The headphones cannot be used to play back the audio after it is recorded.
Once plugged in, the green LED will flash slowly, indicating it is searching for a microphone. Once a microphone is turned on and detected (which can take up to 5 seconds), the flashing green LED switches to constant green. The beauty of this unit is you aren’t required to have any extra apps to make it work, it just works with the apps already installed on your phone!

You can control the volume of the audio coming in by pressing the very tiny, and hard to access volume buttons on the receiver. It would be a great improvement if these were risen slightly, making them far more accessible. If you press the “+” volume button you can increase the volume by three levels and also decrease the volume back through the same levels by pressing the “-“ button. The red LED, next to the green LED, indicates (by the number of flashes it gives off) which level you have selected. Once flash = 1st level of volume, 2 flashes = 2nd level, 3 flashes = 3rd level.
You also can use these volume “+” and “-“ buttons to increase and decrease the noise reduction. This happens the same way as the volume is controlled, only you must use two presses of the “-“ or “+” button to operate the sound reduction. The green light will flash to indicate which selection of noise reduction you have chosen and will also be accompanied by the same number of beeps.

The play (triangle) and stop (square) symbols on the tiny button panel indicate the location of the mute button. If you press these symbols the microphone will mute, press it again and the microphone will unmute. Unplugging the receiver from your phone will reset the volume to factory default, cancel noise reduction, and cancel the mute setting.
The receiver takes a few seconds to locate and connect with the microphones, so don’t be worried if the connection is not as instantaneous as it feels with the J12.
THE MICROPHONES
The blue LED on the microphone indicates that they are turned on. If the blue light is off, simply hold down the power button on the side for 2 seconds to turn the microphone on. To turn it off, simply repeat the process for 5 seconds. It does take a lot longer than you instinctively think it should.
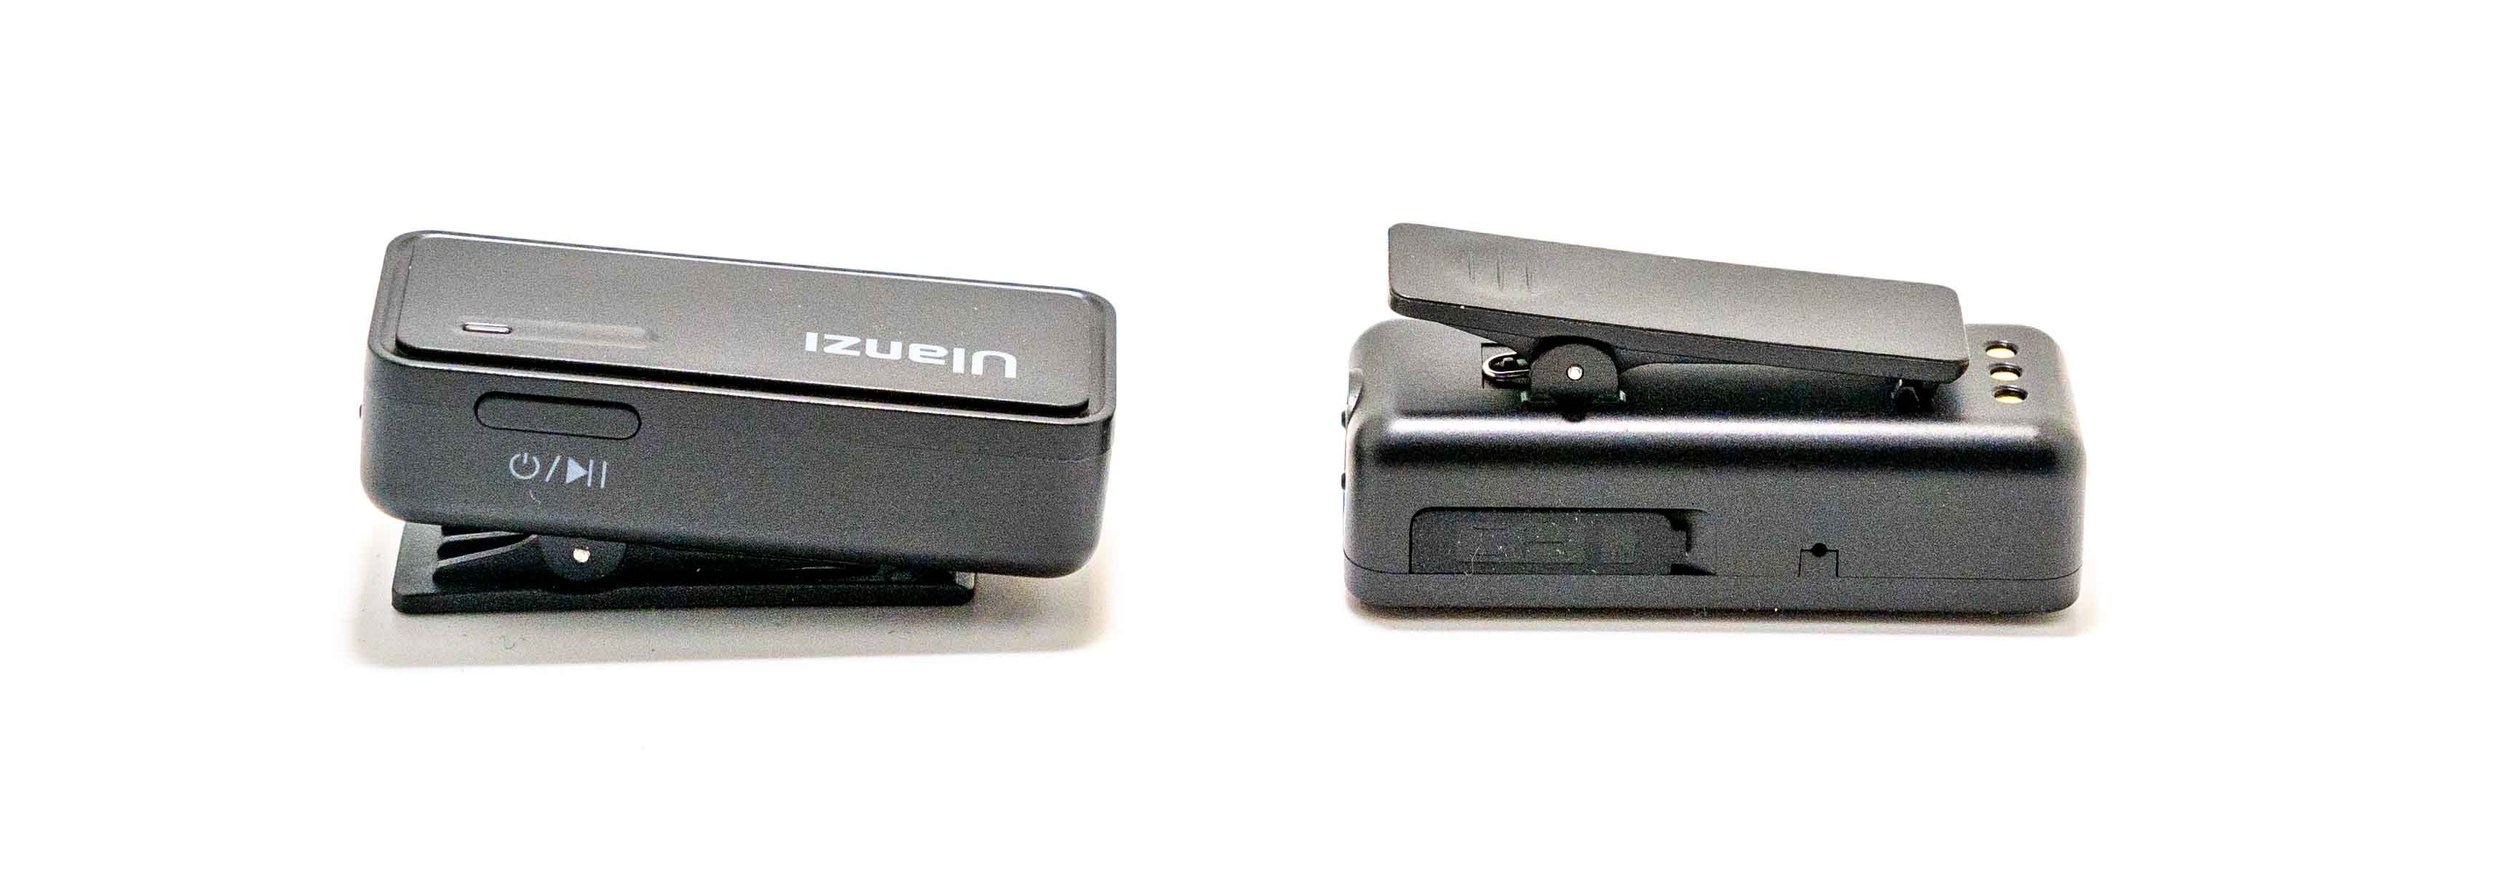
Once in the charging case the microphone will automatically charge and will exhibit a blue light to indicate it is on and ready for use. The power button on the microphone also doubles as a semi-mute button. In my experiments of it, the microphone wasn’t muted as I pressed it, but did dramatically reduce the audio levels. I’m unsure why this is or what this would be used for.
On the other side of the microphone you will see a cover, which conceals the TF (or micro SD card) slot. If the receiver is plugged into your phone the Micro SD card (up to 128GB) when inserted, records everything the microphone is picks up. This is indicated by a solid green (not blue) LED.

You can use the microphone without the receiver to record, but you will need to press the power button to start (indicated by fast blue flashing LED) and stop (indicated by green slow flashing LED) the recording. Flashing lights can be distracting to the audience when presenting, so I would have liked to have seen the LED on the under-side or even on the side of the microphone, to lessen its visual prominence.
If the LED flashes red after inserting your Micro SD Card then you will not be able to record to the Card. You may have to change cards, reformat the card, or blow away any dust from it.

There are two factors you need to be aware of. The first is that once the card is full it will record over the first recordings on the card, like a loop. The second is that the time stamp on the recordings is recorded in relation to Beijing time. If you use a Windows computer you can download an app (USBdown_app) here to correct this. If you, like me, are an Apple user, you will need to keep the time difference in mind. This is quite a frustration, especially if you are syncing video to audio, using recording time stamps.

After testing the range of the microphone, I can affirm that it is reliable up to 100 meters. You can expect to experience some interference in audio quality if the microphone is turned away from the receiver or an obstacle blocks the line of reception.
The microphones are omnidirectional condenser microphones with 360° surround sound pickup. Their sampling rate is 48KHz and their frequency range is 2.4 GHz. The sensitivity of these mics is -38 dBFS, the signal to noise ratio is 64dB and the frequency response range is 20-200KHz.

Full disclaimer, I am not a sound engineer and am not fussy about audio quality, but I would eagerly use the audio captured by these mics. The reception is so impressive that when I hid the microphone under my shirt, I could not tell the difference between the audio it captured there and the audio it captured when in front of my mouth.

BATTERY POWER
The Ulanzi UW-MIC 2.4GHz Wireless Recording Microphone case can receive an input voltage of DC4.8-5.4V to recharge the 1500mAh battery. This takes about 120 minutes and provides the case with the ability to recharge the units twice. To charge the case, simply use the supplied cable to plug into the short side of the case.
You can expect to get 8 hours of working use out of each microphone, and they will take 90 minutes in the case to recharge once empty. When the microphone has only 15 minutes of recording time remaining, the LED will flash RED, until the unit drops below 3.2V and shuts down.

I would like to have seen a TRS or TRRS plug on each microphone, which would enable a lapel mic to be plugged into it, for more inconspicuous use. This is because the units are quite large to wear on the neck of a t-shirt or on a dress shirt. They are however much smaller than a Rode mic for example, but the Rode mics are equipped with the option to plug in lavelier microphone.

ACCESSORIES
The headphones are handy and a nice touch, especially if you don’t own any like me – mine are all wireless. They are cheap, but they do work to help you know what level and quality of sound is being recorded. Be aware, however, that they are an indicator at best, as the sound the headphones relay is not of a high quality.

The deadcats, also known as a windsock, or as Ulanzi like to call it a hair sleeve (well played), are easy to attach to the microphone. Just pull back the hair, place the ring onto the mic and once in place, simply rotate clockwise 90 degrees. I played around with them a little bit and wasn’t overly impressed by their ability to reduce wind distortion, however others may find them more effective, and therefore useful. I do like that they are built into the system and made available with the unit.
FINAL COMMENTS
The Ulanzi UW-MIC 2.4GHz Wireless Recording Microphone (2 In 1) has two microphones but you can purchase a similar unit that only has one microphone, which of course is cheaper. (ADD LINK) Ulanzi do say the unit is “safe and free of defects, no fear of IOS ecosystem upgrade, upgrade without defects assured use.” My interpretation of this is that you don’t need to be concerned about this unit continuing to work even when Apple upgrade their IOS version. Unfortunately, if you are in Japan, you cannot buy this unit directly from Ulanzi.
By now you know if the Ulanzi UW-MIC 2.4GHz Wireless Recording Microphone (2 In 1) is for you and you can pick yours up here for $109.95 (Lightning port) or $104.95 (Type C port).
Thank you to Ulanzi for sending me this product to review.